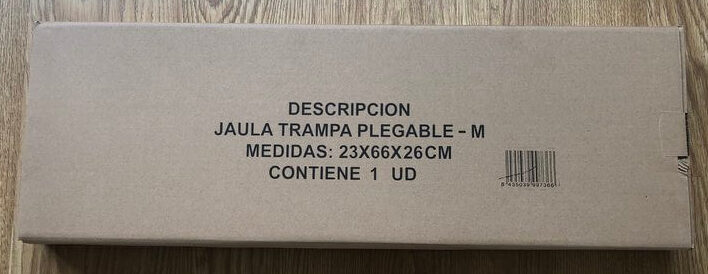
The Folding Trap Cage is available in three sizes: medium, large, and extra-large, depending on the animal to be captured: cats, rabbits, ferrets, minks, martens, foxes….
You can purchase the trap cage at BirdGard Iberia’s online store. You will receive your Folding Trap Cage folded. Below we detail the steps to follow for assembly:
- Unpack the Folding Trap Cage
- Secure the lock of the rear door, with the U-shaped rod
- Stabilize the cage
- Leave open the front flap door
- Use the rod with two hooks to activate the locking mechanism
We also include a video on how to assemble the folding trap cage and instructions on how to prepare it for starting the capture. The Folding Trap Cage is widely used by animal shelters as a tool to capture animals without harming them and taking them to safer places.
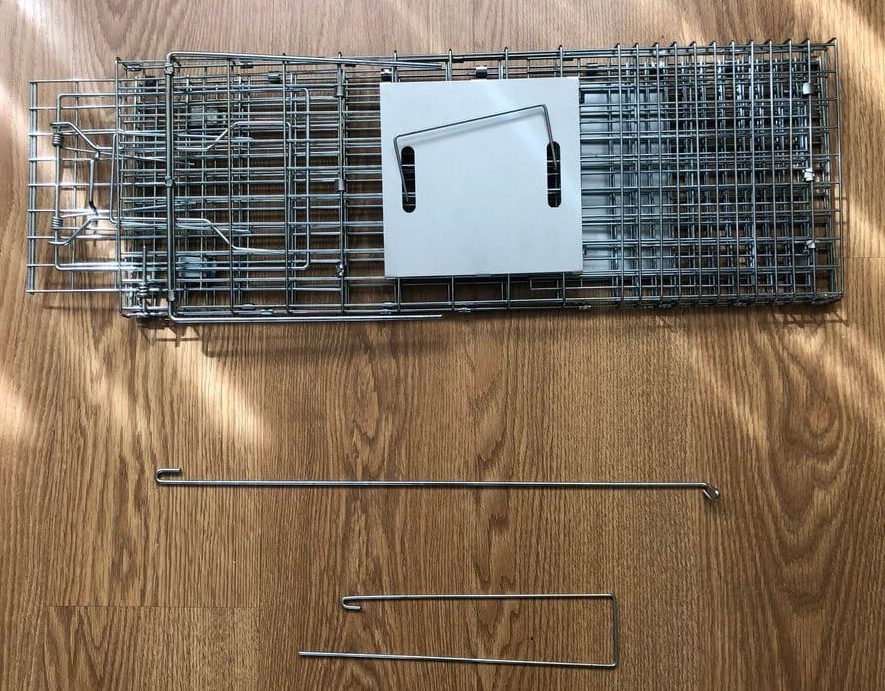
Step 1 – Unpack the Folding Trap Cage
Unpack the folding trap cage and display the three parts that make up the product:
- Structure of the folded trap cage
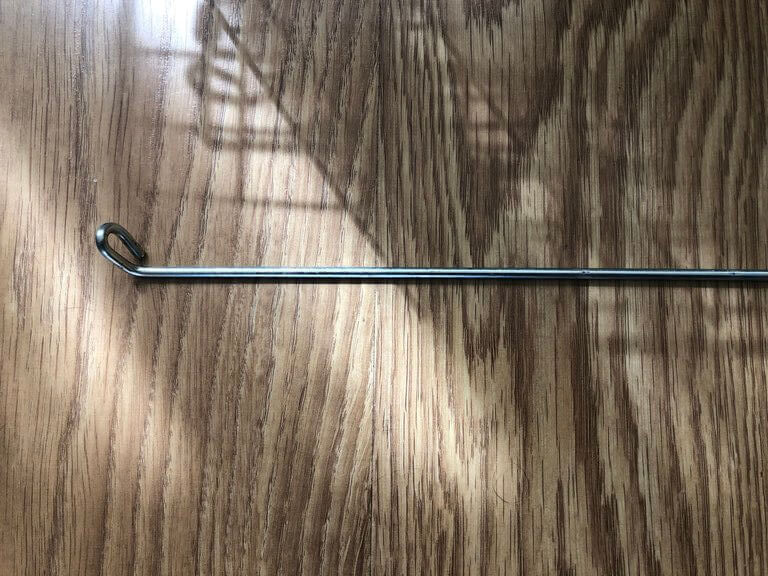
- U-shaped rod (this is the rod that will be used in step 2 to keep the rear door closed at all times)
- Long rod with two hooks (this is the rod that will go from the pedal to the front hinged door, activating the automatic closing mechanism of the cage when the animal steps on the pedal)
Step 2 – Secure the rear door lock
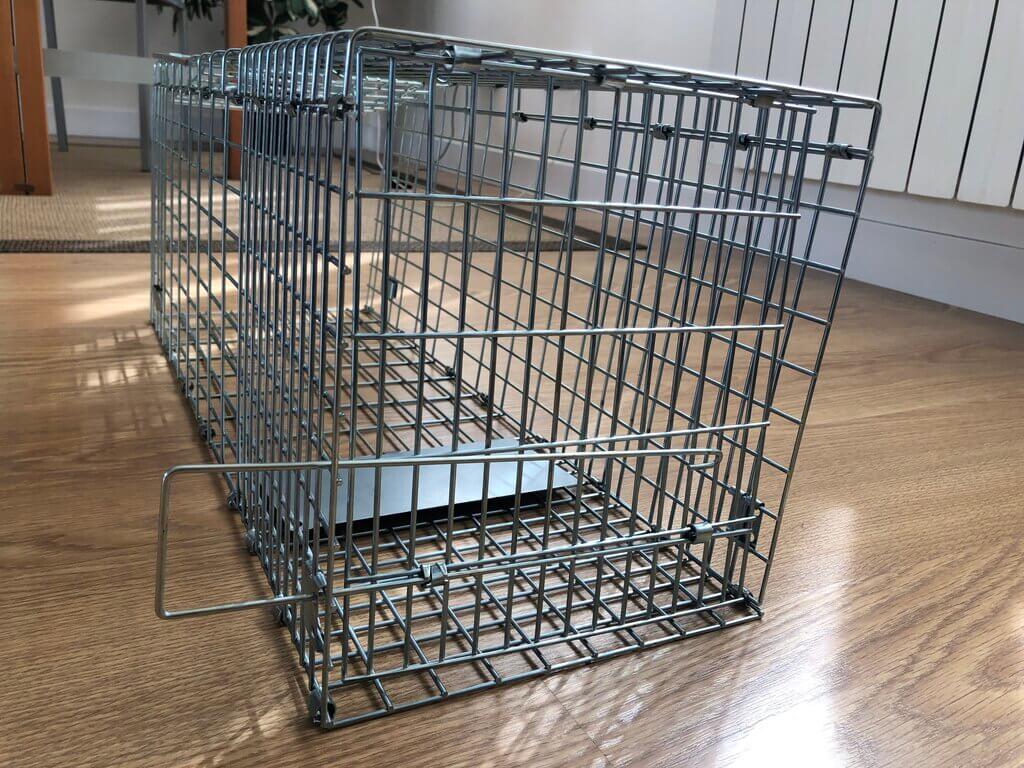
- Lift the folded cage structure by holding the handle upwards
- The cage now takes on its final rectangular shape
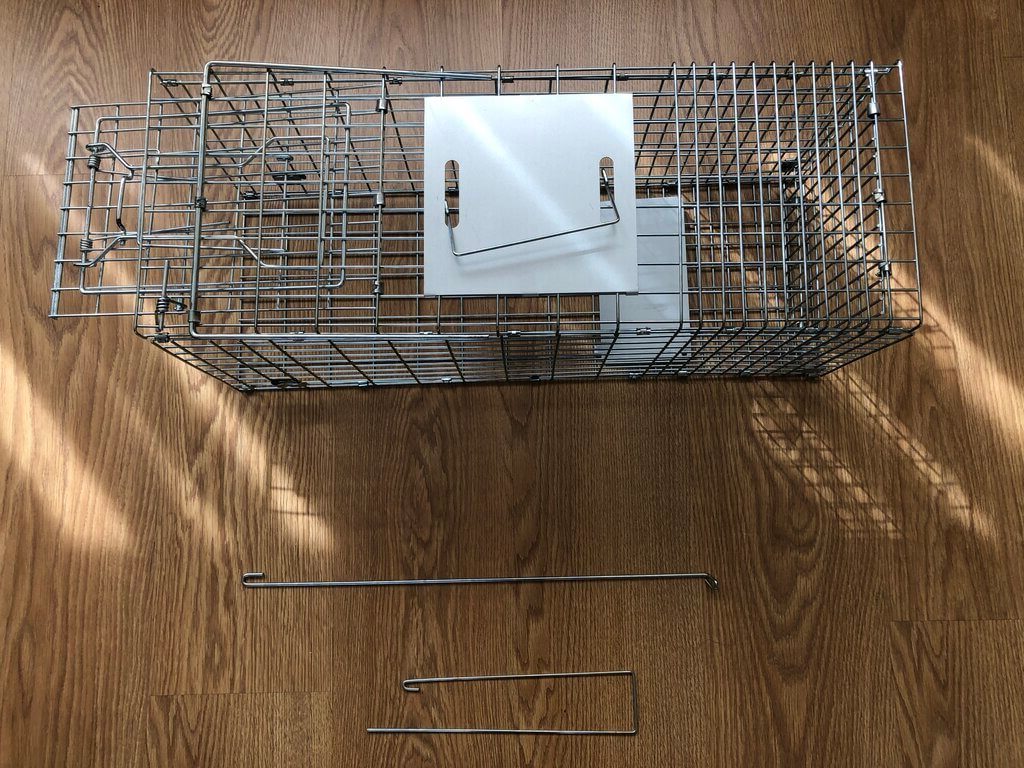
- Begin stabilizing the cage structure by placing the U-shaped rod in the rear door
- To do this, pass the straight part of the U-shaped rod first through one of the two holes in the rear door, then through the two rings of the door in the cage structure, and finally into the hole at the other end. Use the hook of the U-shaped rod that remains on the top to anchor it to the cage structure, preventing it from moving or coming out of the rod
- Check that the rear door is loose, allowing some movement, but cannot be opened
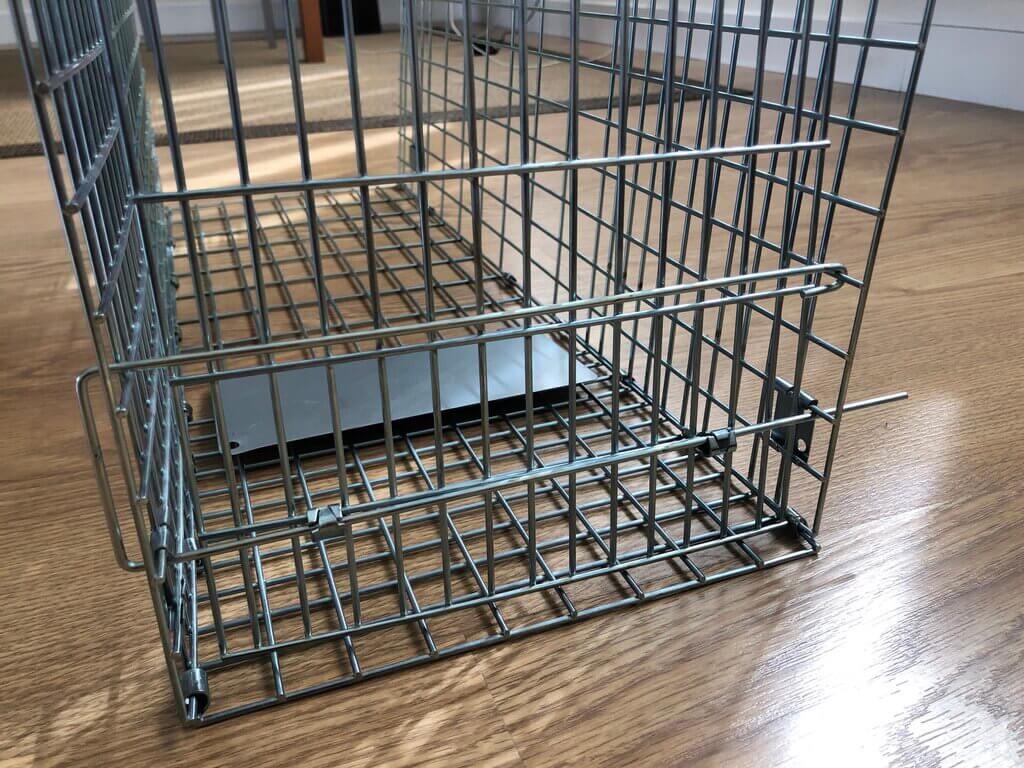
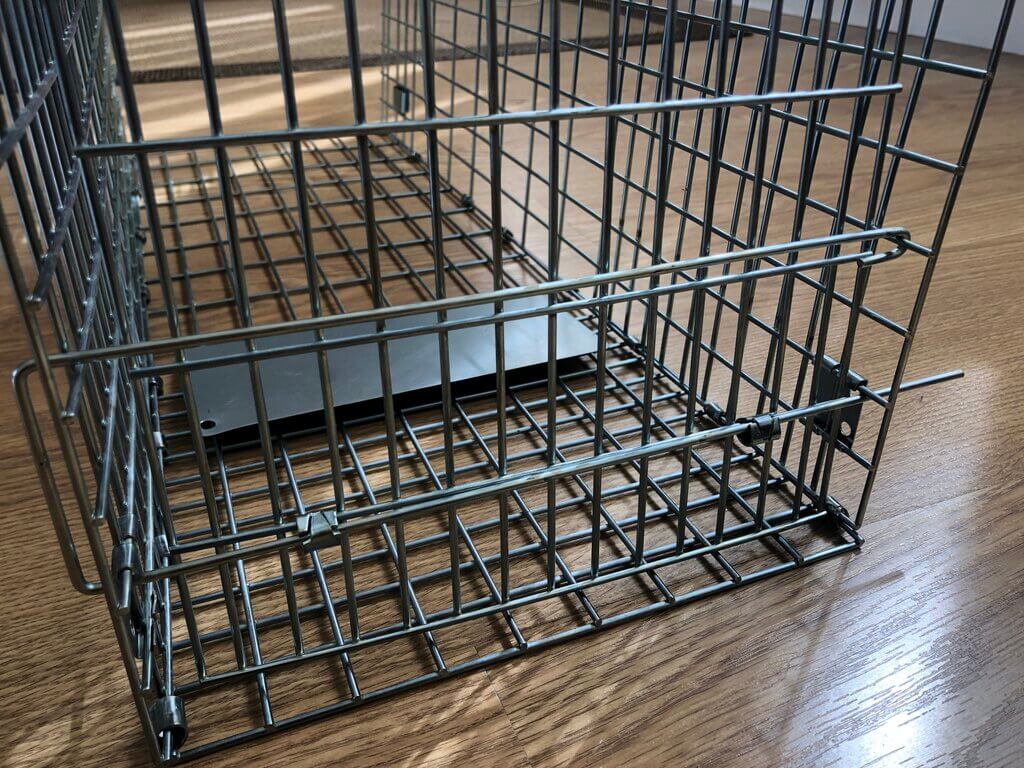
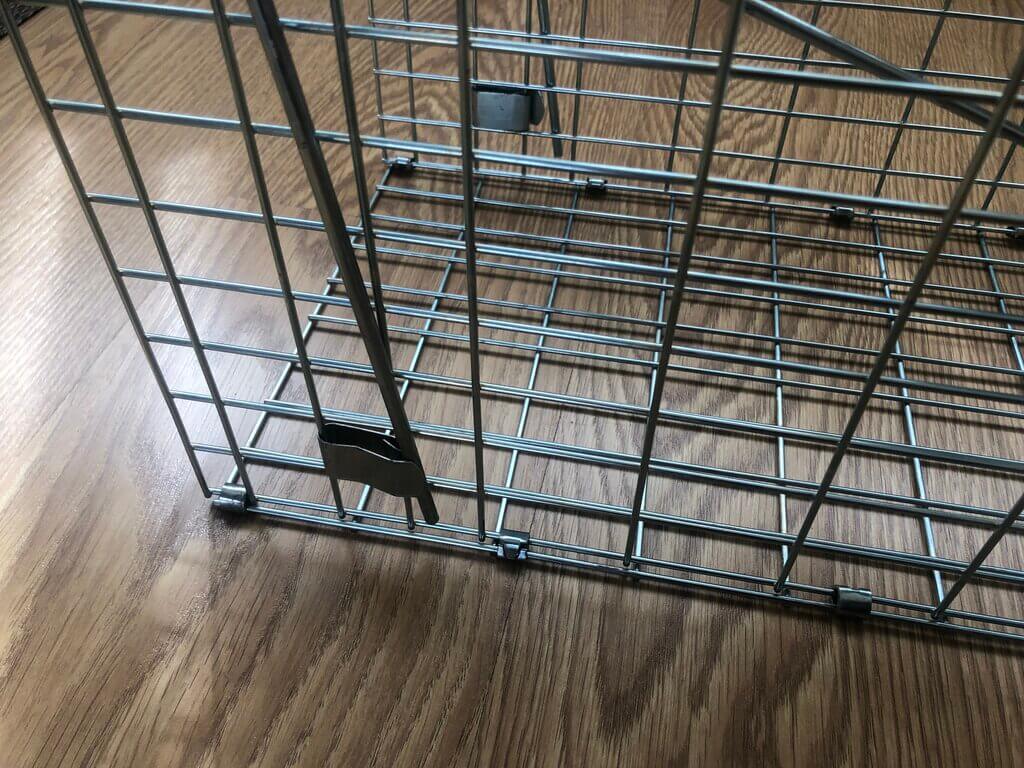
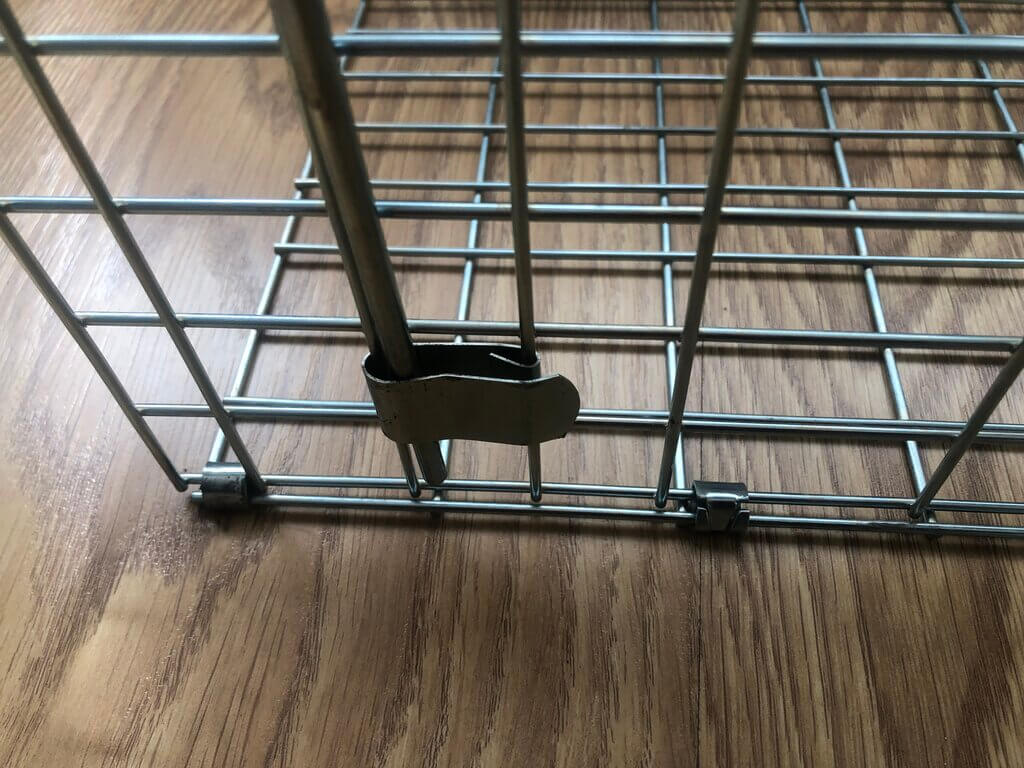
Step 3 – Stabilize the cage
- Finish stabilizing the cage. To do this, notice the U-shaped rod, which is integrated into the cage structure, at the top near the folding front door
- Lower this rod so that its ends are on both sides of the cage, securing it with the flaps that you will find on both sides of the cage structure near the front door. Keep in mind that you need to press a little to get the rod to fit into each of the flaps.
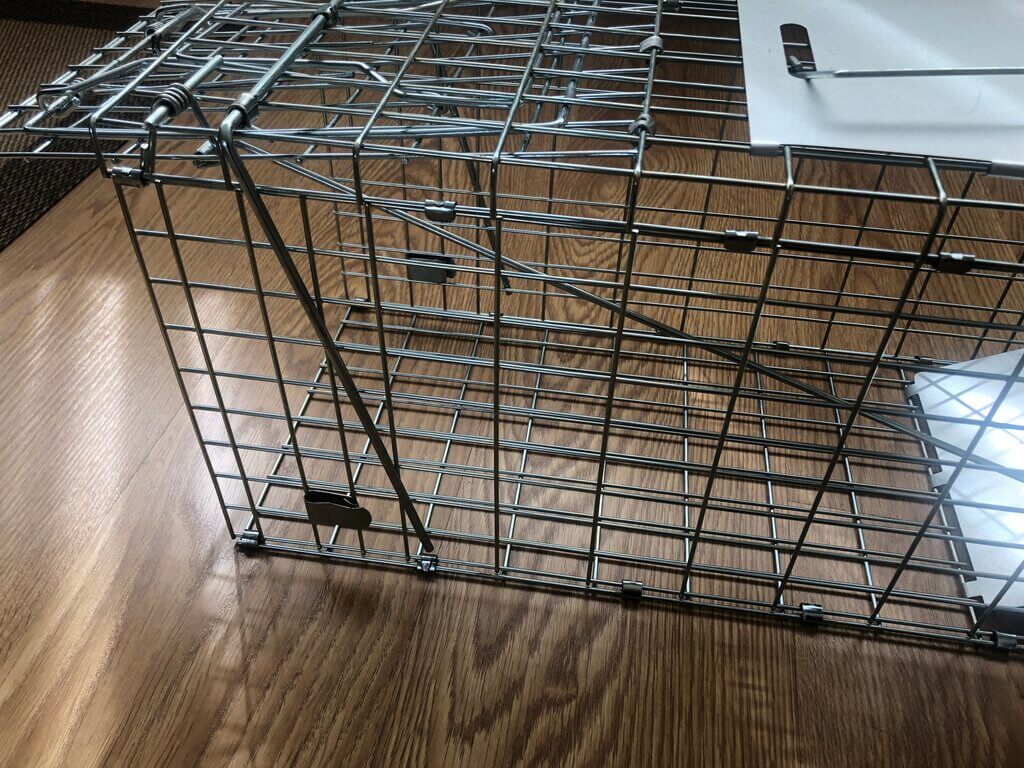
Step 4 – Leave the folding front door open
- Examine the front door mechanism of the cage, which serves to keep the folding front door open, and understand how it works
- Notice that there is a hook at the top, on the right side of the front door. This hook helps to keep the front door open
- Open the folding front door of the cage using the security system it has
- With the folding front door open, use the hook at the top right to keep the door open at all times
- At this point, the assembly of the folding trap cage is almost complete. There is only one last step, the most important one
Step 5 – Use the rod with two hooks to activate the closing mechanism
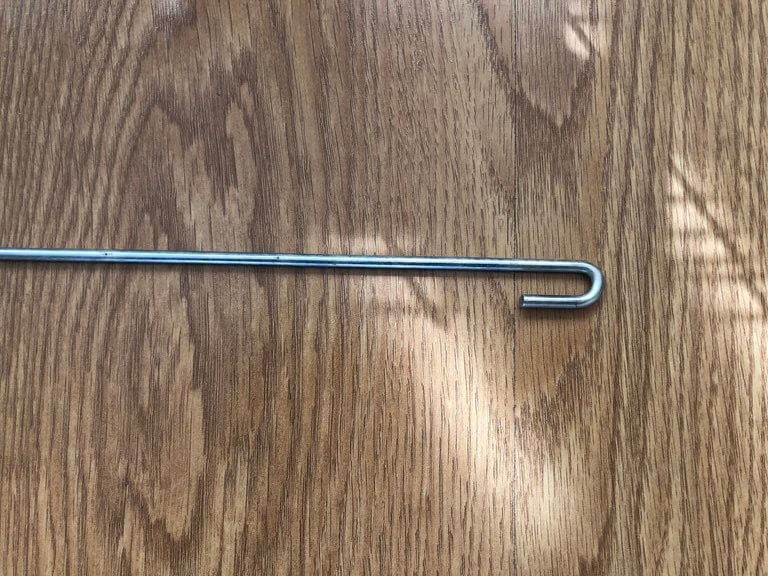
- Use the long rod with two hooks, placing one end of it on the pedal (left photo) and then the other side of the rod on the hook that holds the folding front door (right photo). To do this, keep in mind that:
- The curved part of the rod with two hooks that goes to one side is the part that should be placed on the pedal
- The curved part of the rod with two hooks that follows the direction of the rod is the one that is placed on the hook of the front door located at the top right. This hook is attached to the folding front door and the rod with two hooks
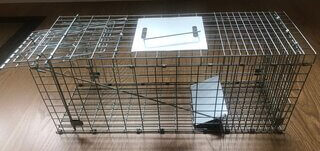
- At this point, the folding trap cage is assembled and ready for capture
- Test the trap cage by pressing the pedal with your hand from one side of the cage and checking that the central door closes automatically. If you perform this test, you will need to reopen the folding front door and secure it with the hook at the top right (step 4)
Folding Trap Cage Assembly Video
As we have seen, the assembly of the Folding Trap Cage is very simple, below we share an example video:
Folding Trap Cage – Instructions to start capturing
Once the assembly of the Folding Trap Cage is complete, follow the steps below to start capturing:
- Place bait at the back of the pedal, next to the rear door that is closed and fixed
- When the animal enters the cage to eat the bait, it will step on the pedal, which will activate the mechanism and automatically close the folding front door
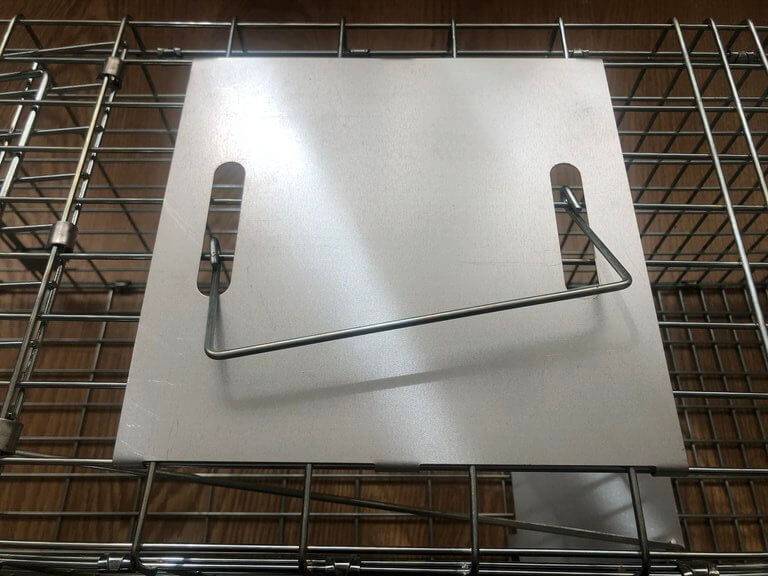
- The folding trap cage has an aluminum protector on the handle part to prevent the animal from biting or scratching us.
The following article offers a comparison of the best Trap Cages for capturing cats, rabbits, rats, mice… and provides good advice on where to place the cages and what the best bait is. If you have any questions, contact BirdGard Iberia and one of their technicians will do their best to help you.